Last year, NMC moved to a great new office space. Our old space was a storefront on the first floor of a building that let us see anyone at the door who was coming for a meeting, delivery, or needed access for any other reason. The new space is the entire second floor of a building and the door leading up to our office stays locked at the ground level. So, the only way we can know if someone is downstairs and needs to get up to the office is for them to call. We needed a better way, and fortunately we had the tech talent to figure it out!
NMC uses Slack as our internal communications tool. We use it as a general chatroom, a breakout of rooms for different teams, and a 1:1 direct messaging system. At any given moment during the workday, there are always multiple people looking at Slack. So, we wanted to connect this virtual entry point to our company with our physical door. If we could let people buzz in from either of our doors and a notification pop up in Slack to let them in, the problem would be solved and a major headache of inviting people to see our cool new space would be relieved.

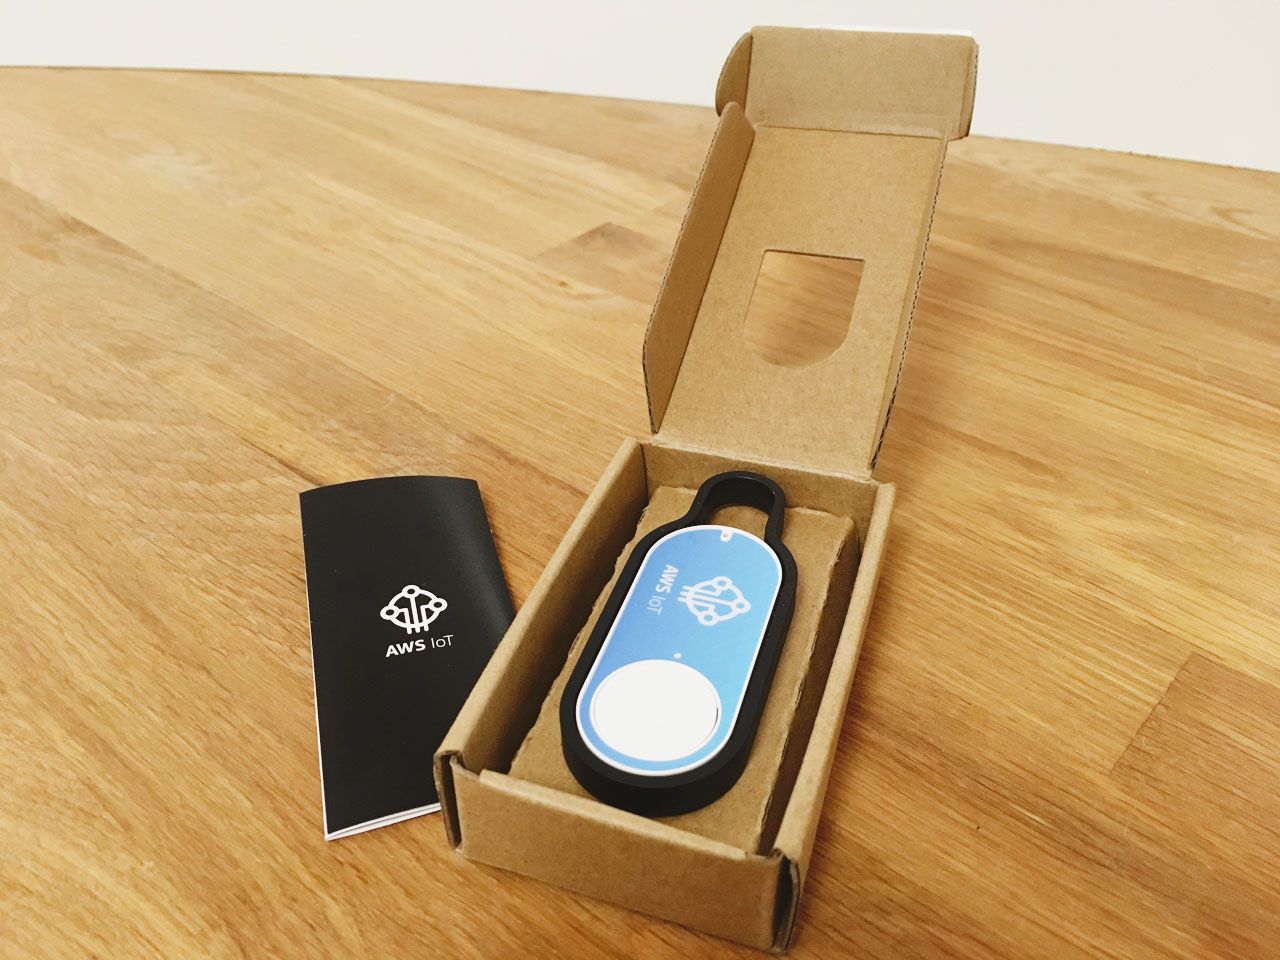
We didn't want to reinvent the wheel by custom building a bunch of hardware, so we decided to piggyback on existing (and cheap!) Amazon hardware, the Amazon IoT button, that we could program to bridge the divide.
Based on the same hardware as their Dash buttons, Amazon's IoT Button is a small blank slate of sorts for getting into the Internet of Things.
The concept is fairly simple - one button, one function. The button, when pressed fires an event to activate an AWS Lambda function. Lambda functions are a type of AWS service that allow users to design and run single functions in one of a few different runtime environments without setting up an entire server infrastructure. In our case, that function triggers a Slack message via Slack's Webhooks integration when someone's at our door.
Setting Up
First off, in order to use the IoT Button, you'll need an AWS account - I'd encourage any developer to explore AWS anyway, as it's got a rich (if intimidating) series of tools to explore. And while AWS configuration has historically been somewhat difficult to understand and navigate due to its complexity, Amazon has made real strides in their UI and documentation recently that have helped to alleviate those issues.
This is especially true of the process for setting up an IoT Button - a full walkthrough is available here - it's the same one I used to set up our own "IoT Doorbells". The walkthrough also leverages a wizard that Amazon built specifically to handle IoT Button Configuration, and it does a great job handling the setup of the IAM Roles and Policies so that you hardly have to deal with those aspects of the process.
After confirming that the setup worked with the test function (which it did, with no hitches - twice in a row!), getting the button to do what we wanted was a cinch.
I replaced the example function with this one (courtesy of github user 'jed'), and tweaked things to create a "Someone is a the door" message, complete with emojis. The options available for posting messages to Slack via JSON payload are pretty robust - check out Slack's Message Builder and see what you can come up with!
Here's our version of the IoT to Slack function:
'use strict'

const https = require('https')
const qs = require('querystring')

// Replace SLACK_WEBHOOK_ENDPOINT with your slack endpoint
const WEBHOOK_PATH = '/services/SLACK_WEBHOOK_ENDPOINT'
const EVENTS_BY_CLICKTYPE = {
    SINGLE : {emoji: ':bust_in_silhouette:', actor: 'Someone'},
    DOUBLE : {emoji: ':party-parrot:', actor: 'Party Parrot'},
    LONG : {emoji: ':nmc:', actor: 'Someone from NMC'}
}

exports.handler = function(data, context, cb) {
    // Select the message parameters based on the click type
    let event = EVENTS_BY_CLICKTYPE[data.clickType]
    if (!event) return cb()

    // Build our message JSON
    // These settings override the default settings for your webhook
    let payload = JSON.stringify({
        channel: '#general',
        username: 'Doorbell',
        text: `${event.emoji} ${event.actor} is at the front door!`,
        icon_emoji: ':door:'
    })

    let body = qs.stringify({payload})

    let options = {
        method: 'POST',
        host: 'hooks.slack.com',
        path: WEBHOOK_PATH,
        headers: {
            'Content-Type': 'application/x-www-form-urlencoded',
            'Content-Length': Buffer.byteLength(body)
        }
     }

    https.request(options)
        .on('error', cb)
        .on('response', res => {
            res.setEncoding('utf8')
            res.on('data', msg => {
                res.statusCode == 200 ? cb(null, msg) : cb(msg)
            })
        })
        .end(body)
}
And here's what we ended up with:

Some Final Notes
The button has a lifetime of about 1000 clicks, which puts each click at $0.02 (when you figure the button is roughly $20). For potentially frequent actions, this is definitely a factor, but the convenience of setup weighs well against the cost, in my opinion.
There's also good news on that front: The generation 2 button (slated for release in February) should have a lifetime of 2000 clicks, halving the cost-per-push. Combined with the cost-efficiency of Lambda, this is an impressively cheap ticket to board the IoT train.
This was easy to setup and got us exactly what we need. Hopefully others find it useful and we'd love to hear about other cool Slack doorbells or uses of the IoT buttons in the comments!


Comments
Estera
Hi there! Just wanted to say I found your article very informative and used it when writing about a Slack integration we made at our company. Link here: https://blog.getjoan.com/talk-to-your-meeting-room-the-same-way-you-talk-to-your-coworkers-try-this-free-slack-integration-34c5030d1ea6Thanks again!
Leave a comment